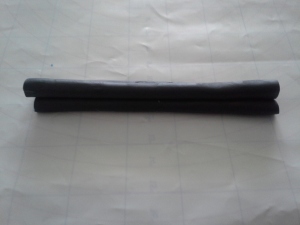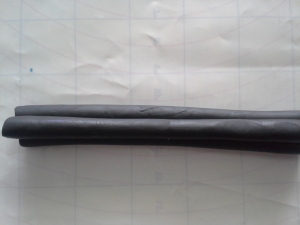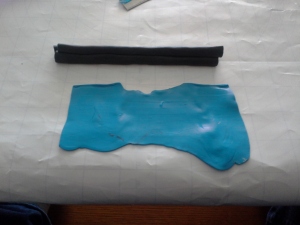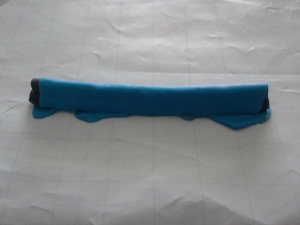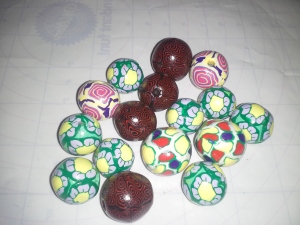
Hey all baking memories followers. Today I have another crafting project for you,
polymer clay jelly roll beads!
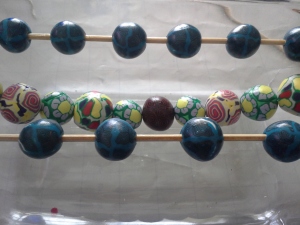
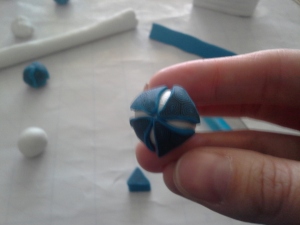
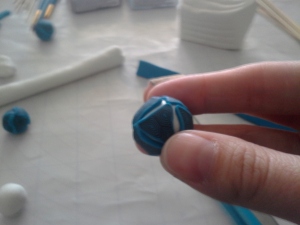
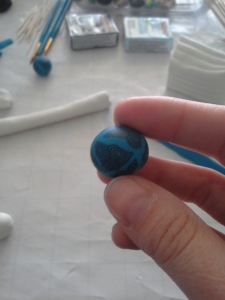
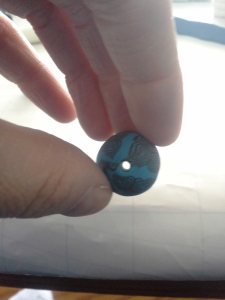
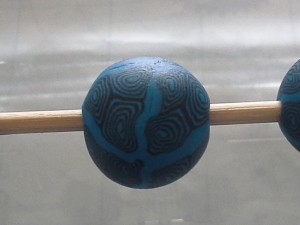
How neat are these?
So today I am bringing you a great tute on how to get these cool beads for yourself.
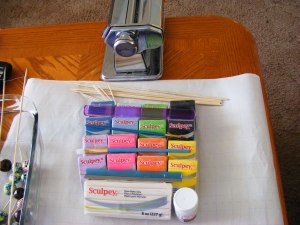
You are going to need:
Polymer clay in whatever colors you’d like
Paintbrush(es)
Dowels
Toothpicks
a clay roller
a clay knife
and some Sculpey Glaze- the finish is based on preference, I’m using glossy but you can use matte as well.
Not required but recommended is a pasta machine specifically for clay. You can use the roller, but the machine makes it way faster.
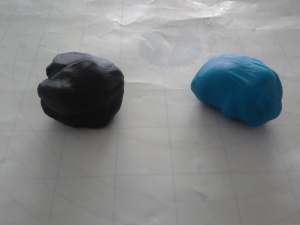
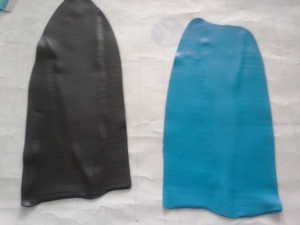
First you are going to want to separate 2 colors to make your jelly rolls, you can use 3, but the more colors you add, the harder it is to get them to roll without cracking. I used half of a block of dark blue and black, because the hubs thought they looked the best together:
The work them out till they are warm and a nice workable texture. You don’t want them to crack when you roll them out:
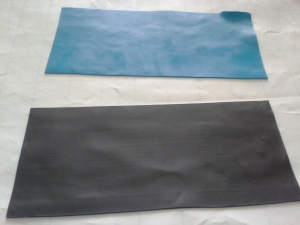
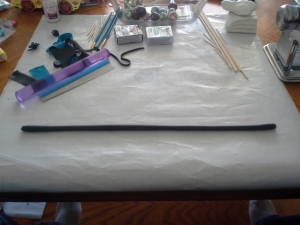
Then I used my pasta machine so I rolled them into logs, then ran them through the machine on the thinnest setting to get these nice thin rectangles:
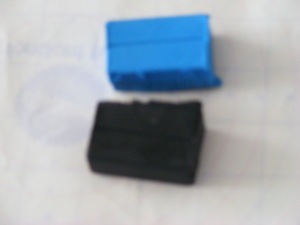
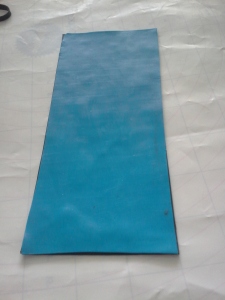
Trim them down to the same size and stack them on top of each other:
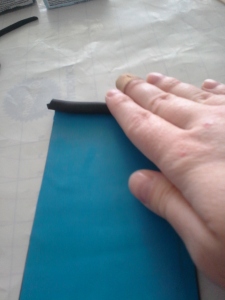
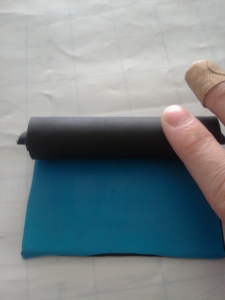
Then roll the short end tightly until you reach the other end:
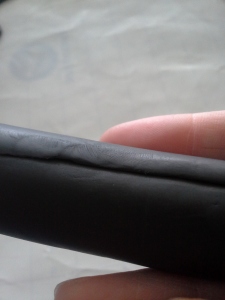
Then you want to smooth out the seam so that the whole thing looks even:
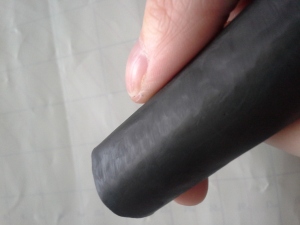
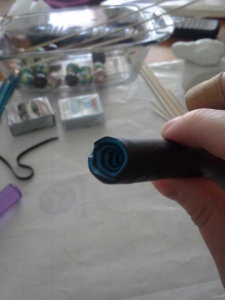
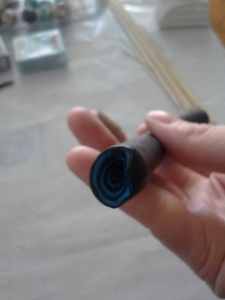
You will see some distortion on the ends but just trim them up and you will have this great jelly roll design:
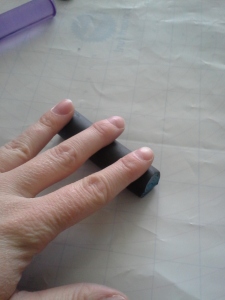
Now you want to “reduce” the size of the jelly roll, by applying a slight amount of pressure, starting in the middle and using your fingers to make it thinner, but longer all at the same time
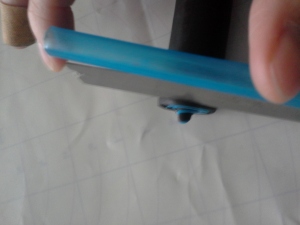
I stopped when it was doubled in length to show you, the ends are again going to be distorted, but don’t panic, because as you can see if you just trim the ends the design is still there:
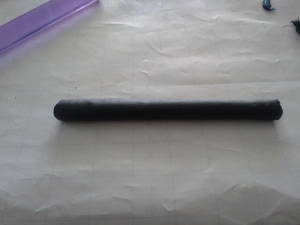
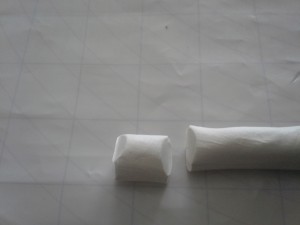
Keep rolling and rolling, until you have a very thin roll. I rolled my to just over 5 times its starting length then trimmed it down till it was exactly 5 times its length.
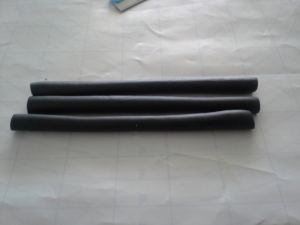
Then slice your roll into 3 equal parts, and stack them into a triangle
I wanted more blue but you can use either of your colors for this next step.
Roll out another thin piece of clay, and use it to encase your triangle of jelly rolls. Trim off the clay instead of overlapping it so that you have a nice smooth seam again:
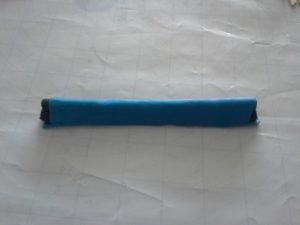
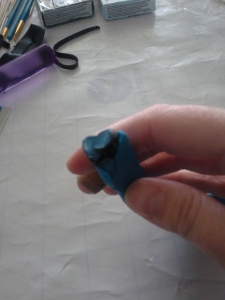
At this point you will probably want to “reduce” the size of the triangle, just remember to start in the center of your cane, and pull more than squeeze the cane smaller. If you squeeze at this point you can actually distort your cane more than preserving the design.
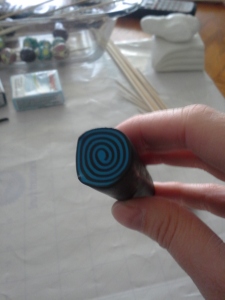
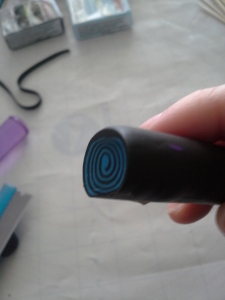
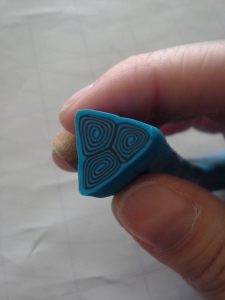
Once you have your cane the thickness you are happy with, trim off the ends so they are even again, and you are ready to start the rest of your beads:
See jelly rolls. Pretty neat huh?
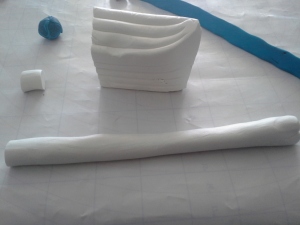
For the next step, I actually recommend using a clay that is one of your two colors in your roll, however for the sake of you being able to see the steps I used white.
Roll out your bead base color into a log, the thickness of the log will be determined by the size of the beads you want to make. I used 1/2 in wide logs for my beads
Then cut it into pieces that are similar in size. Again I made mine 1/2 in pieces
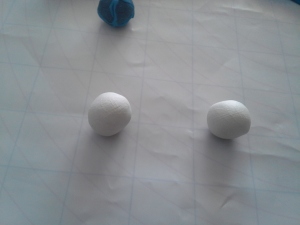
Then roll these pieces into little balls:
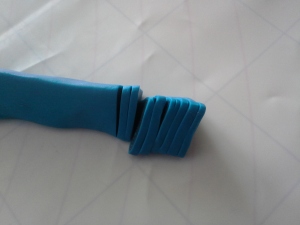
Now take your cane and thinly slice off pieces, about the thickness of a dime:
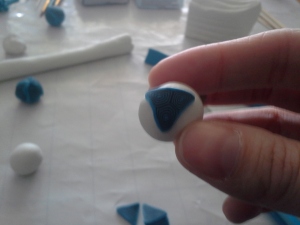
Then stick your pieces onto your clay balls:
Then using your roller you want to smooth out the cane pieces so that you don’t have any visible gaps. You may have to cut small thin slivers to fill in some gaps. Thanks to these being a simple pattern, you won’t mess it up by adding any extra pieces. It will look intentional:
See nice and smooth.
Now using your toothpick you want to pierce your beads so that you have a hole.
Then remove the toothpick and insert it into the other side, so that you remove the point from where it pushed through the bead. This will give you a nice rounded bead again:
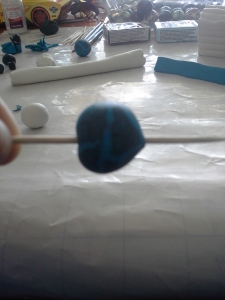
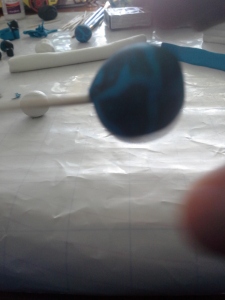
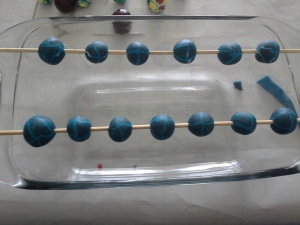
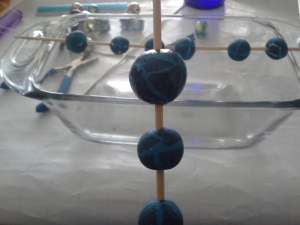
The best way to bake these is to slide them onto a dowel rod, the hole on your bead will become slightly bigger, but your bead will stay round this way. If you just put them on a pan you risk flattening out one side:
Then just drape them over a pan, and bake according to package directions:
The dowel will hold them up and ensure even baking.
Once they are cool you are ready to glaze them.
You will need:
Your baked, cooled beads
the paintbrush
and the glaze.
This is the easy, fast part.
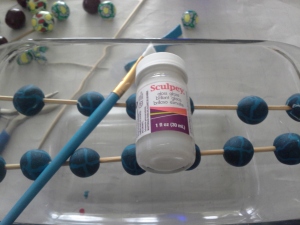
Leave them on the dowel, it makes it easier, and just paint them with the glaze
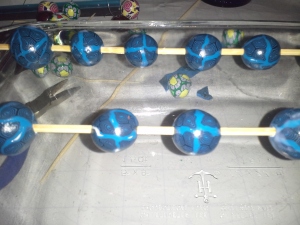
You can tell the difference between the glazed and the non glazed beads.
Once they are dry if you need another coat you can add it. They are fully dry after 24 hours.
You can then use them for jewelry, or jar accents or any other decorative pieces.
There are numerous combinations of what you can do, colors you can use.
These are an easy versatile craft that you can do with the kids, as long as you do all the slicing, because the clay blade is extremely sharp.
These are just a small collection of what I’ve been playing with, and how-to’s on the floral and the stained glass ones coming in the future.
Do you have a version of these beads that you’d like to share? I’d love to see them, just send me a link below.
If you are looking for a fun easy, albeit sometimes time consuming project look no further than polymer clay beads!
Until next time
Happy Crafting!
